
#
(All IPNut proxy services require an overseas network environment. This tutorial assumes operation under such conditions.)
#
To use IPNut’s IP services, users must first purchase proxy ports. Payment Methods: Alipay, WeChat Pay, Credit Card (contact staff for alternative payment options) Account Top-up: Required if balance is insufficient (via Alipay/WeChat/Credit Card)#
WeChat Customer Service:#

#
Official Support Channels:#
- Telegram: @Jennyipnut
- Contact details are available on our website – reach out for any assistance.
#
Step 1: Proxy Purchase Process #
#
Account Setup & Proxy Purchase#
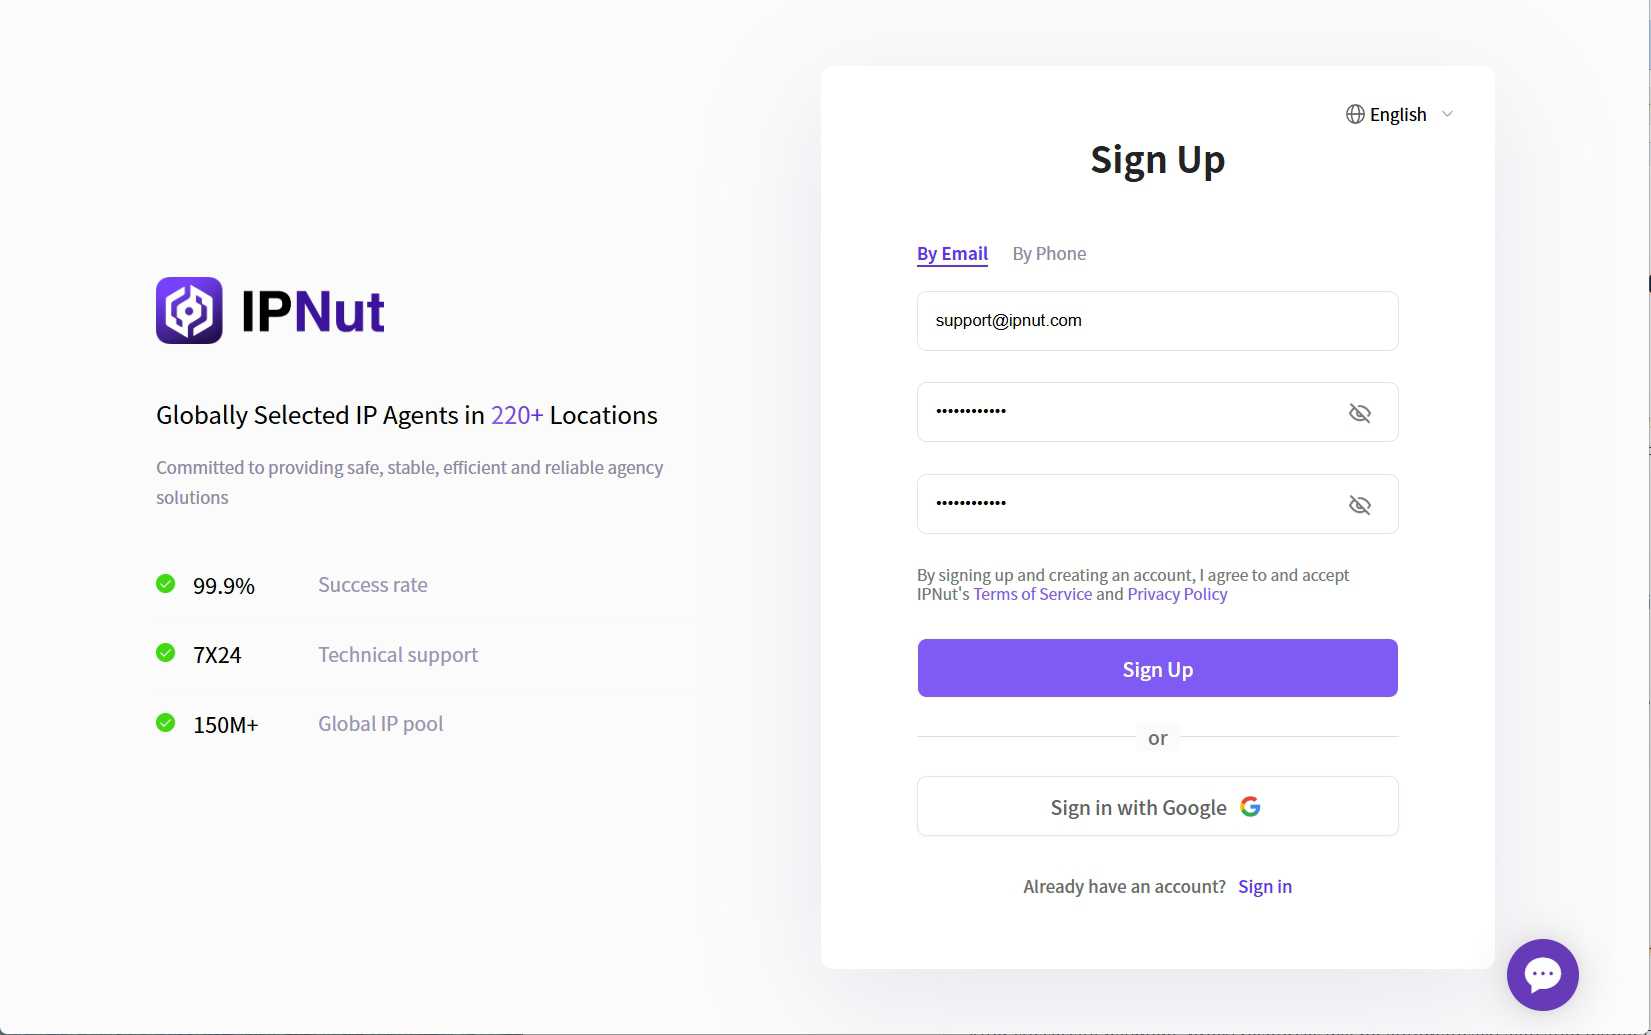
1. Register Account Create your IPNut account via email, phone, or Google account.#
#
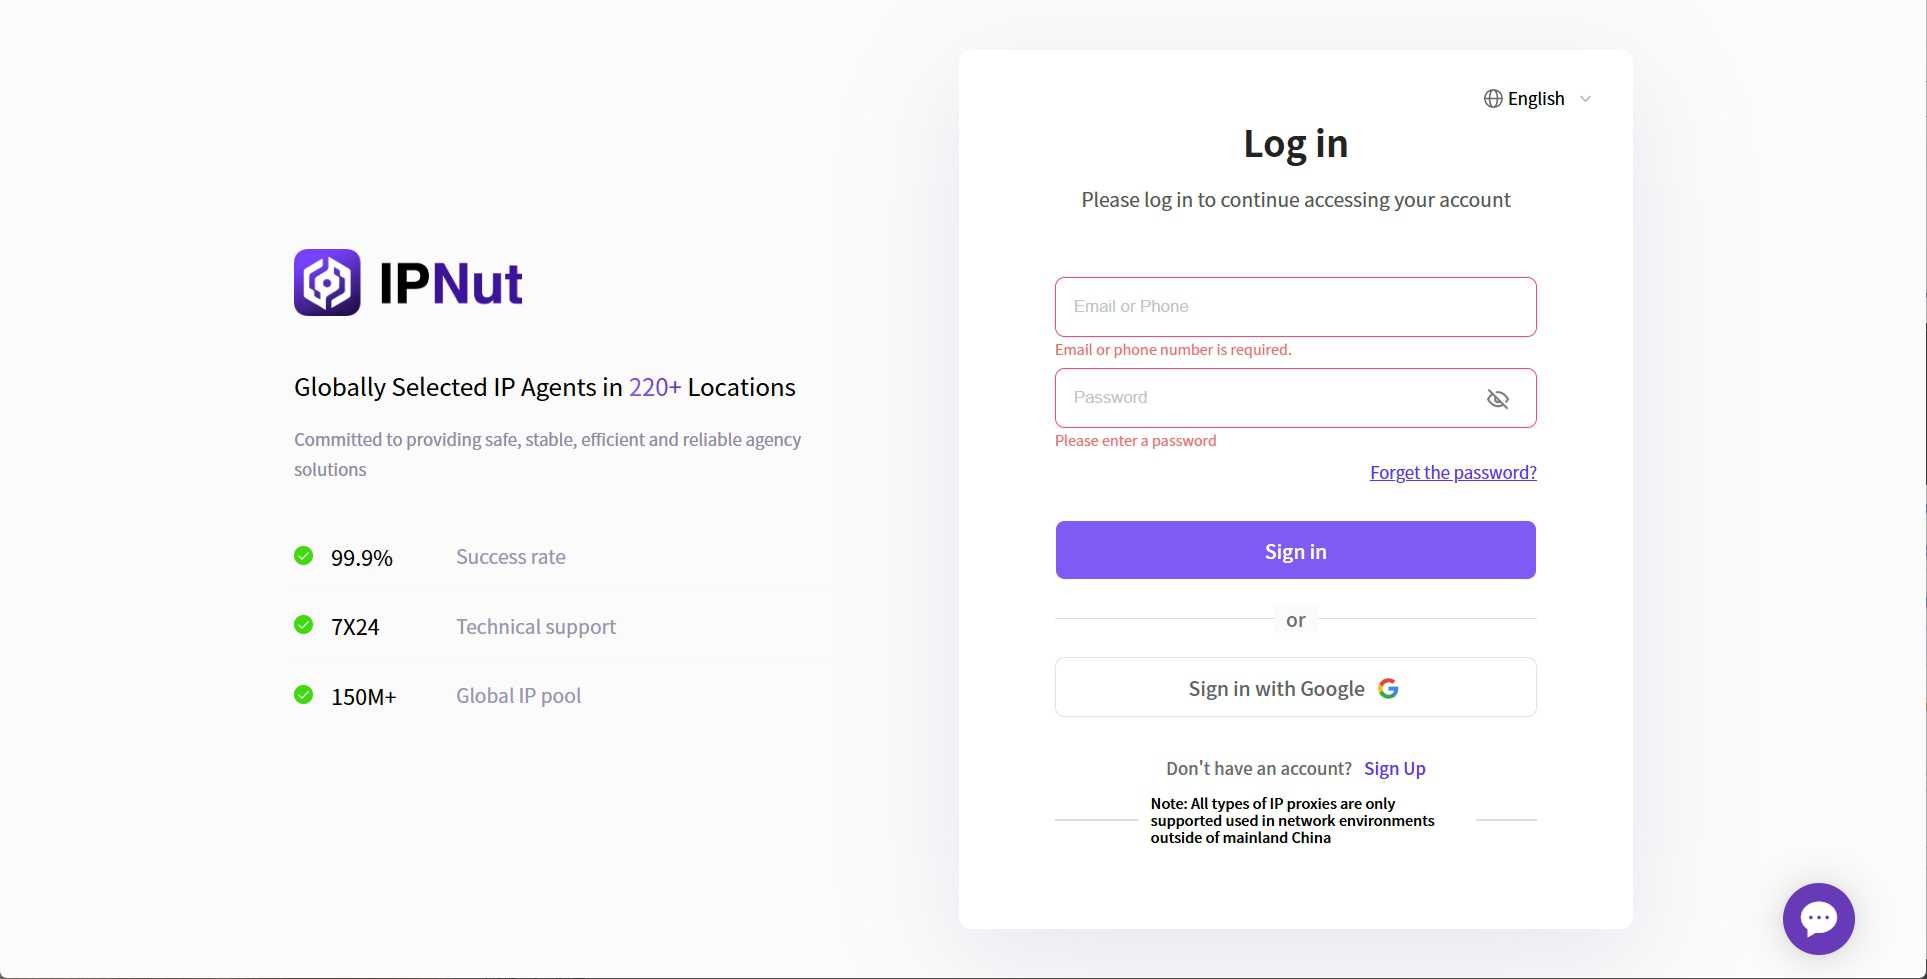
2. Platform Login Visit ipnut.com and log in using email, phone, Google.#
#
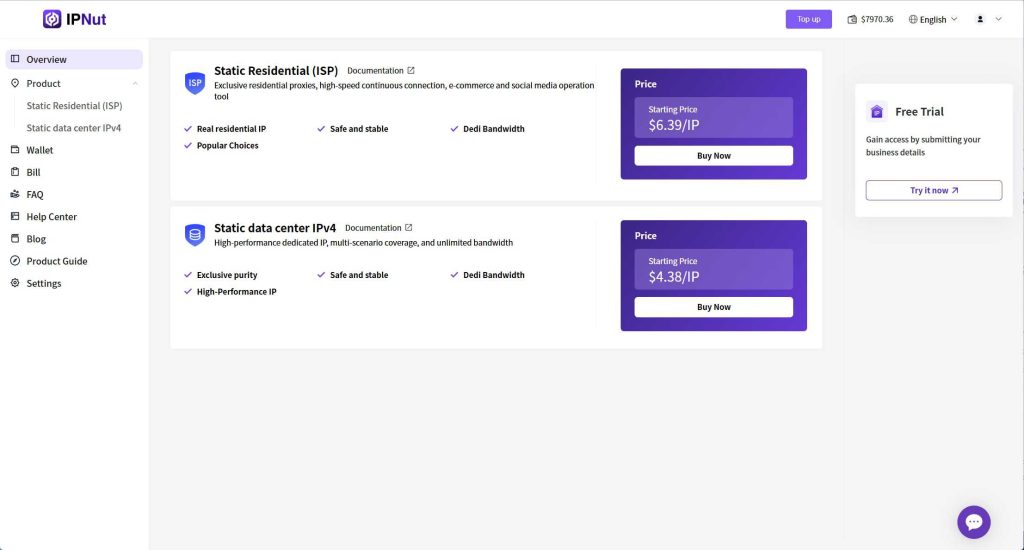
3. Access Control Panel New users can request free trials by contacting customer service.#
#
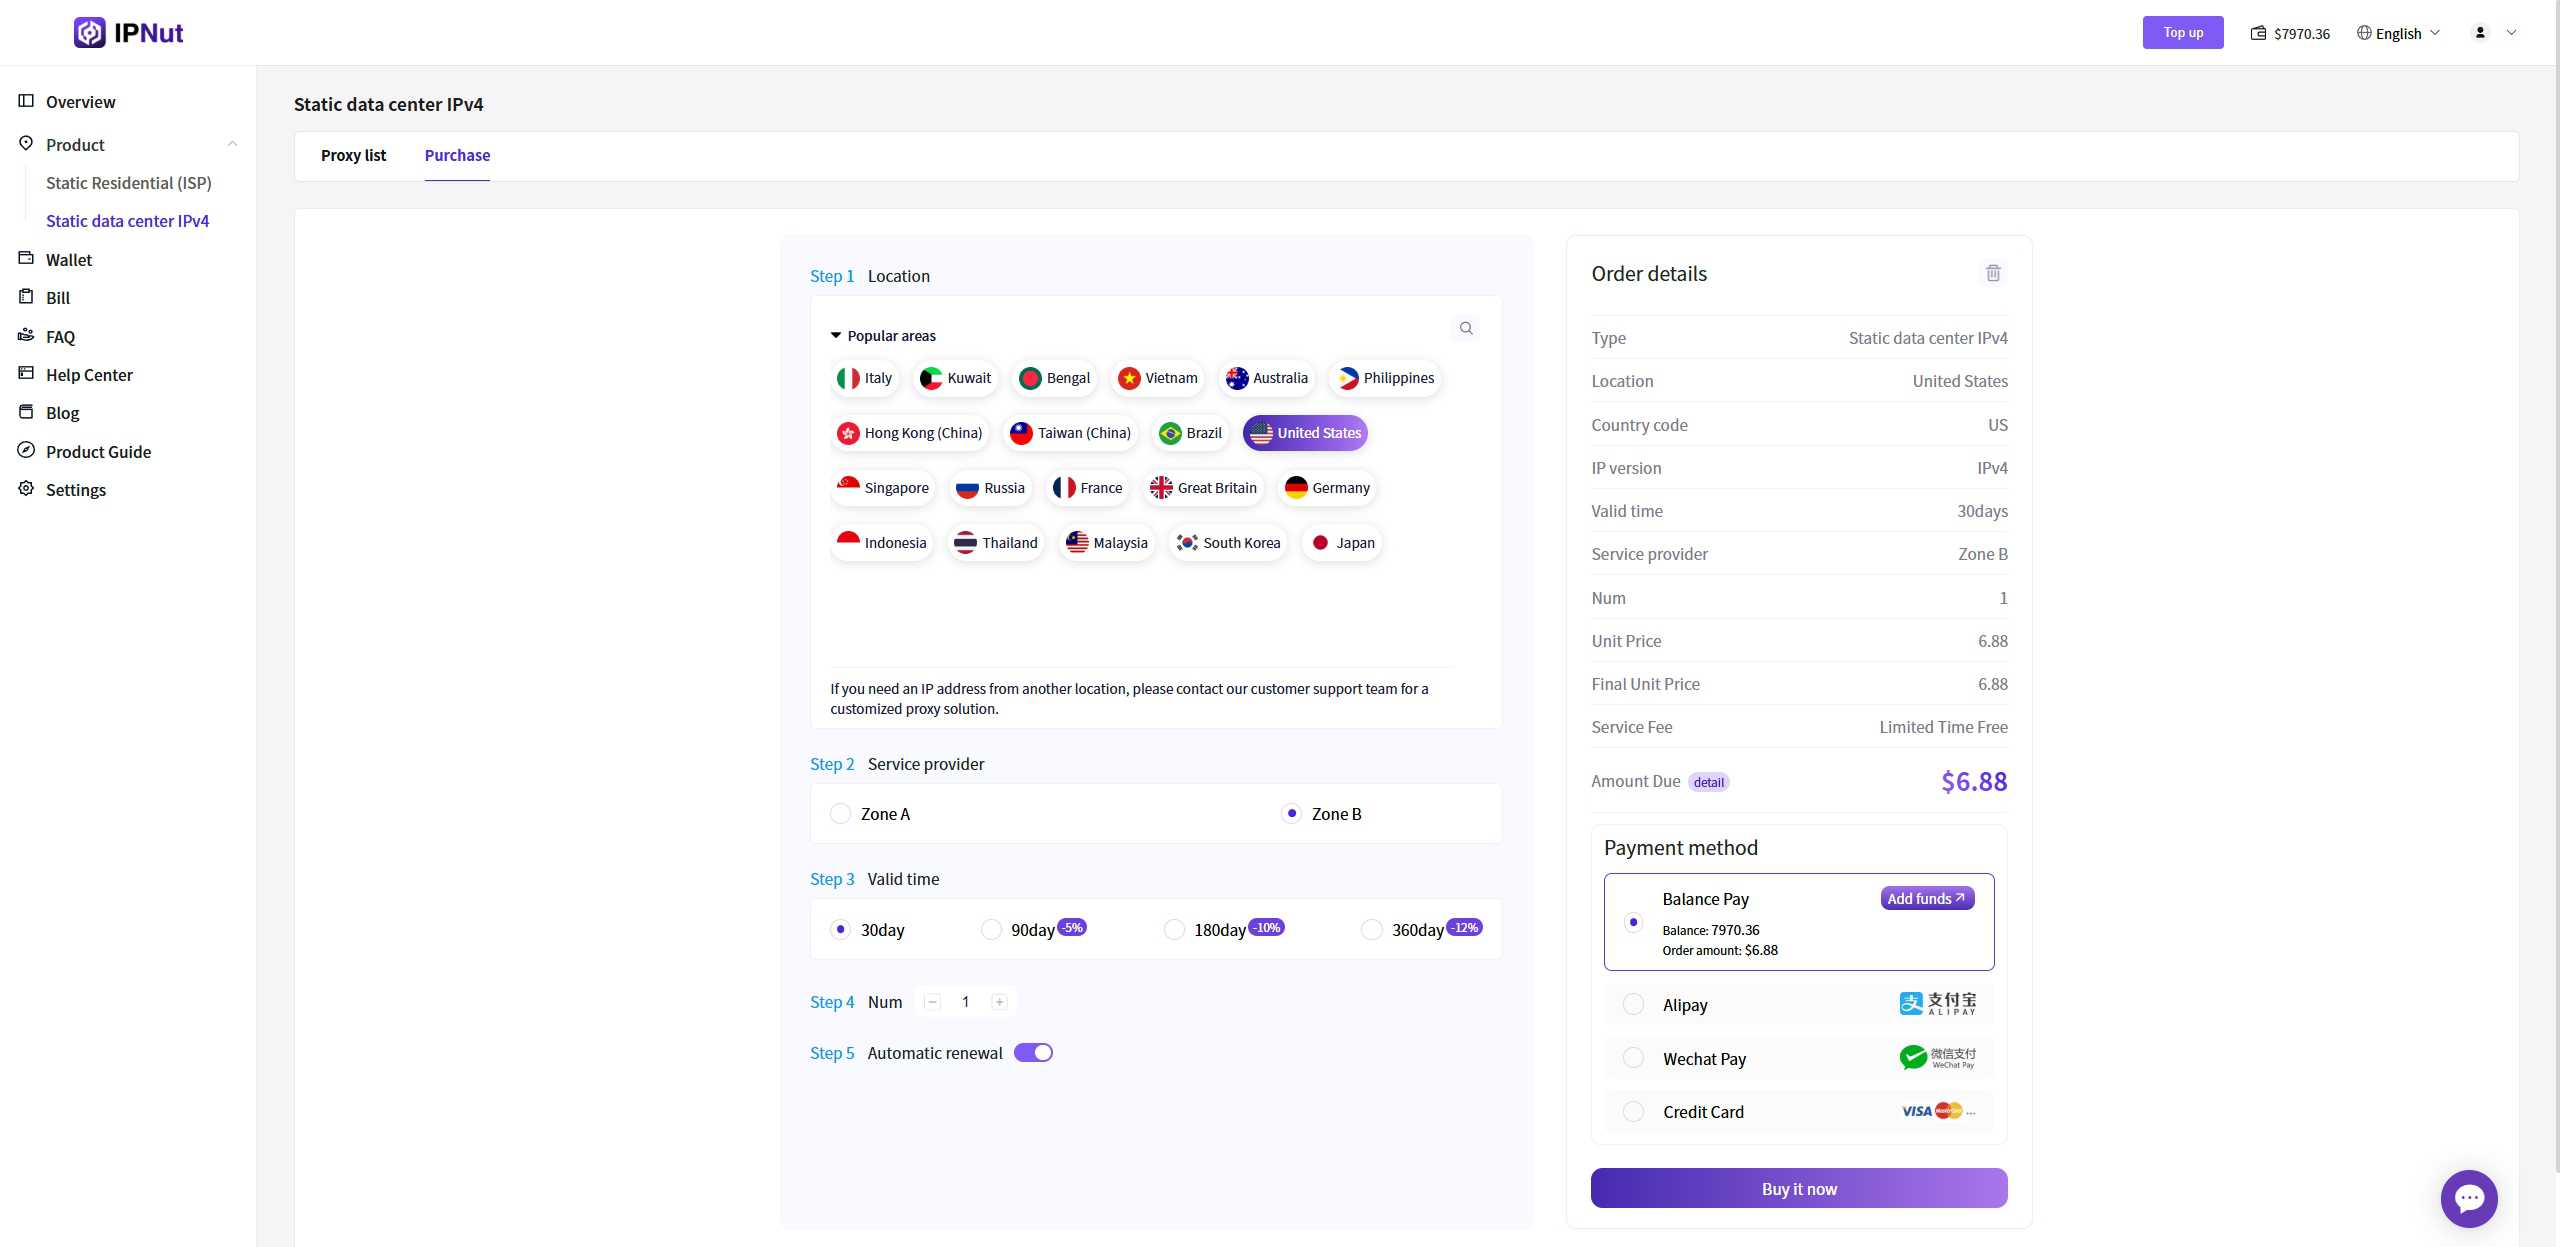
4. Purchase Proxy Ports Select proxy parameters according to your needs:- Proxy type
- Country/Region
- IP validity period
- Quantity
#
#
5. Order Confirmation Review order details in the right panel and click “Buy Now”#
#
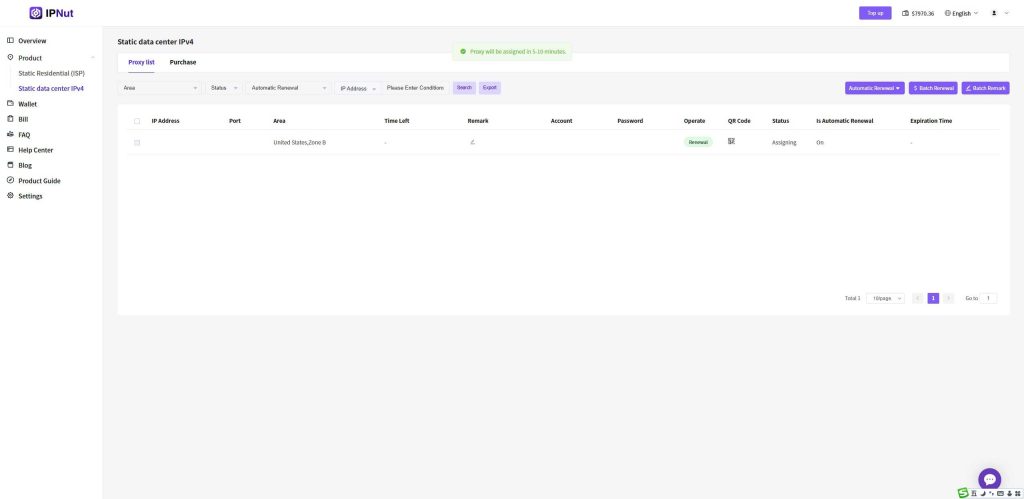
6. Order Processing After successful payment:#
- Order status: Processing (5-10 minute typical processing time)
- Orders appear in your proxy order list
#
#
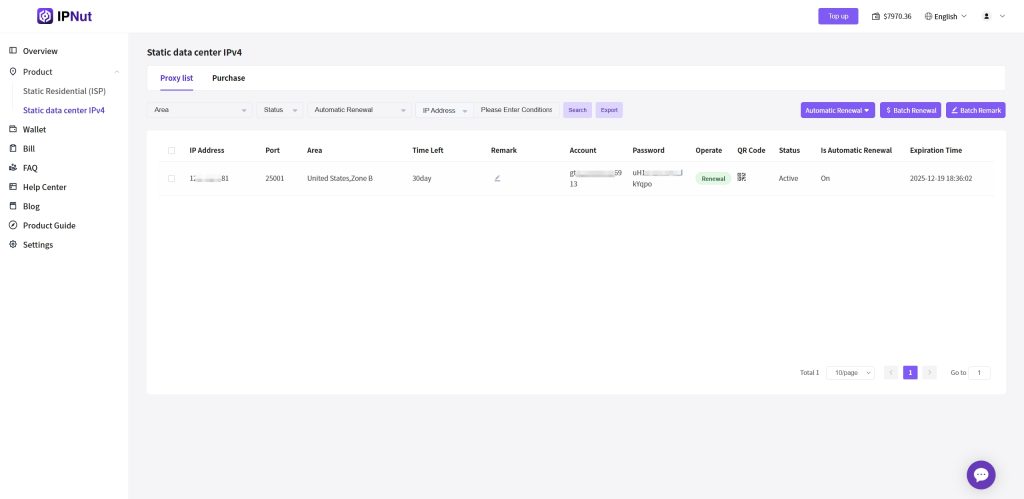
7. Access Proxy Details Proxy Address Format#
Structure: Protocol + Username + Password + IP + Port + Region remark#
Examples:#
socks5://account:password@127.0.0.1:12001#kr-seoulhttp://account:password@127.0.0.1:13001#kr-seoul
#
Usage: Extract protocol, IP, and port components as required by your proxy software.#
This completes the IPNut proxy purchase process.
Step 2: CosLogin Configuration #
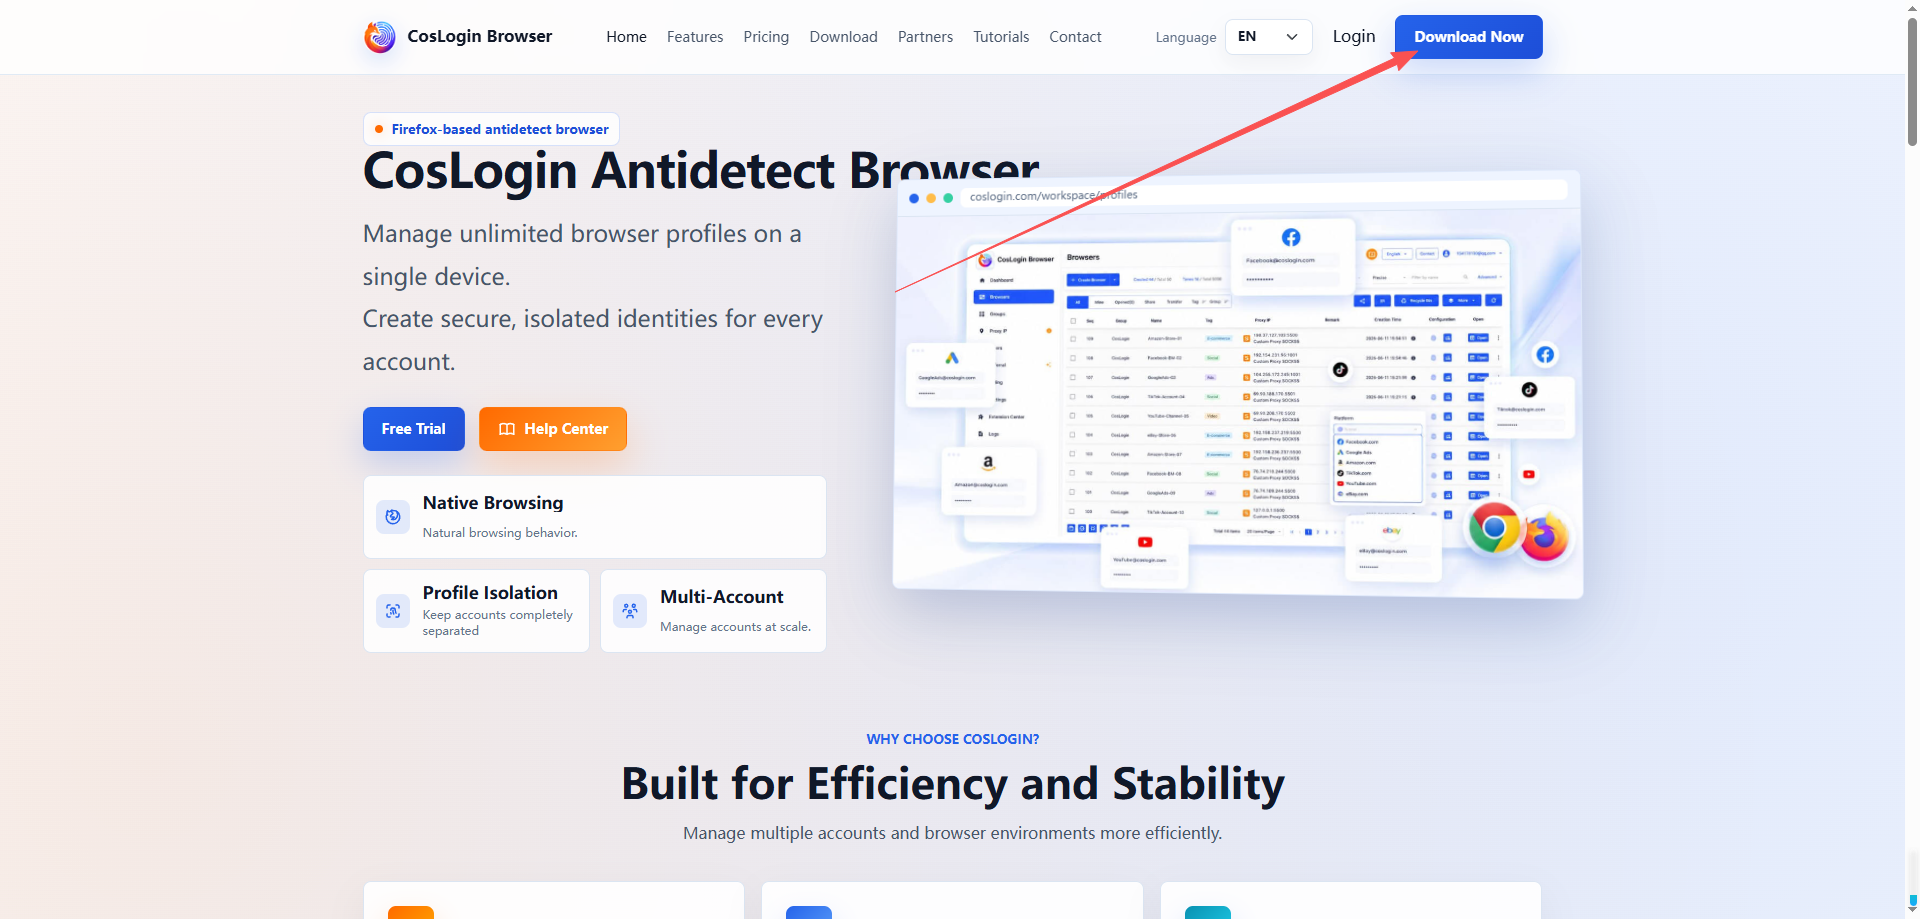
- Go to the CosLogin antidetect browser official website and click Download Now. Registration includes free access.
- After installing the client, register and log in to the software dashboard.
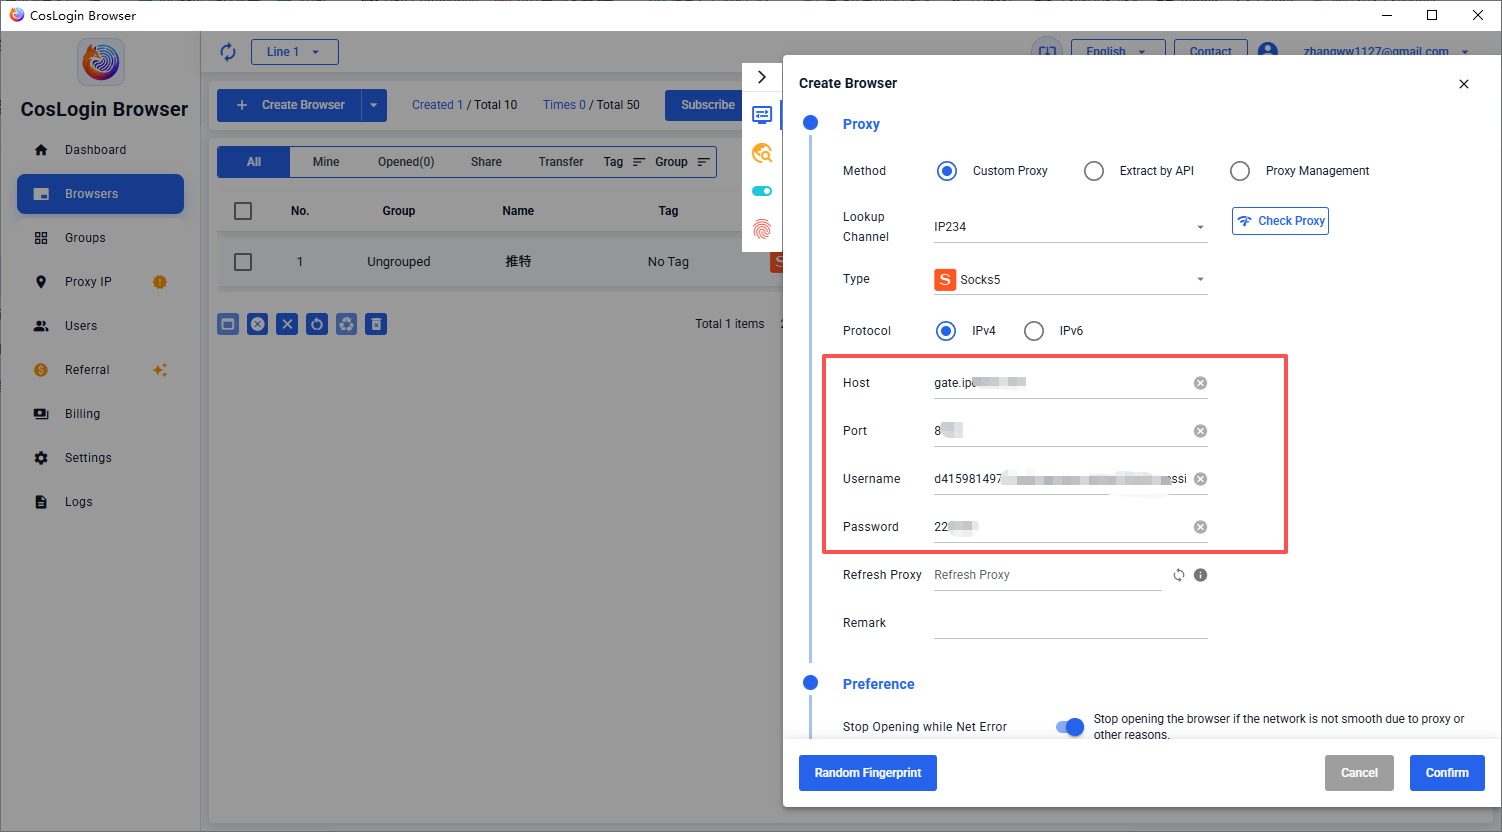
- Click Browser Profiles > Create Profile. Under Proxy Settings > Proxy Type, select SOCKS5 (or HTTP, depending on the protocol supported by your IPNut proxy).
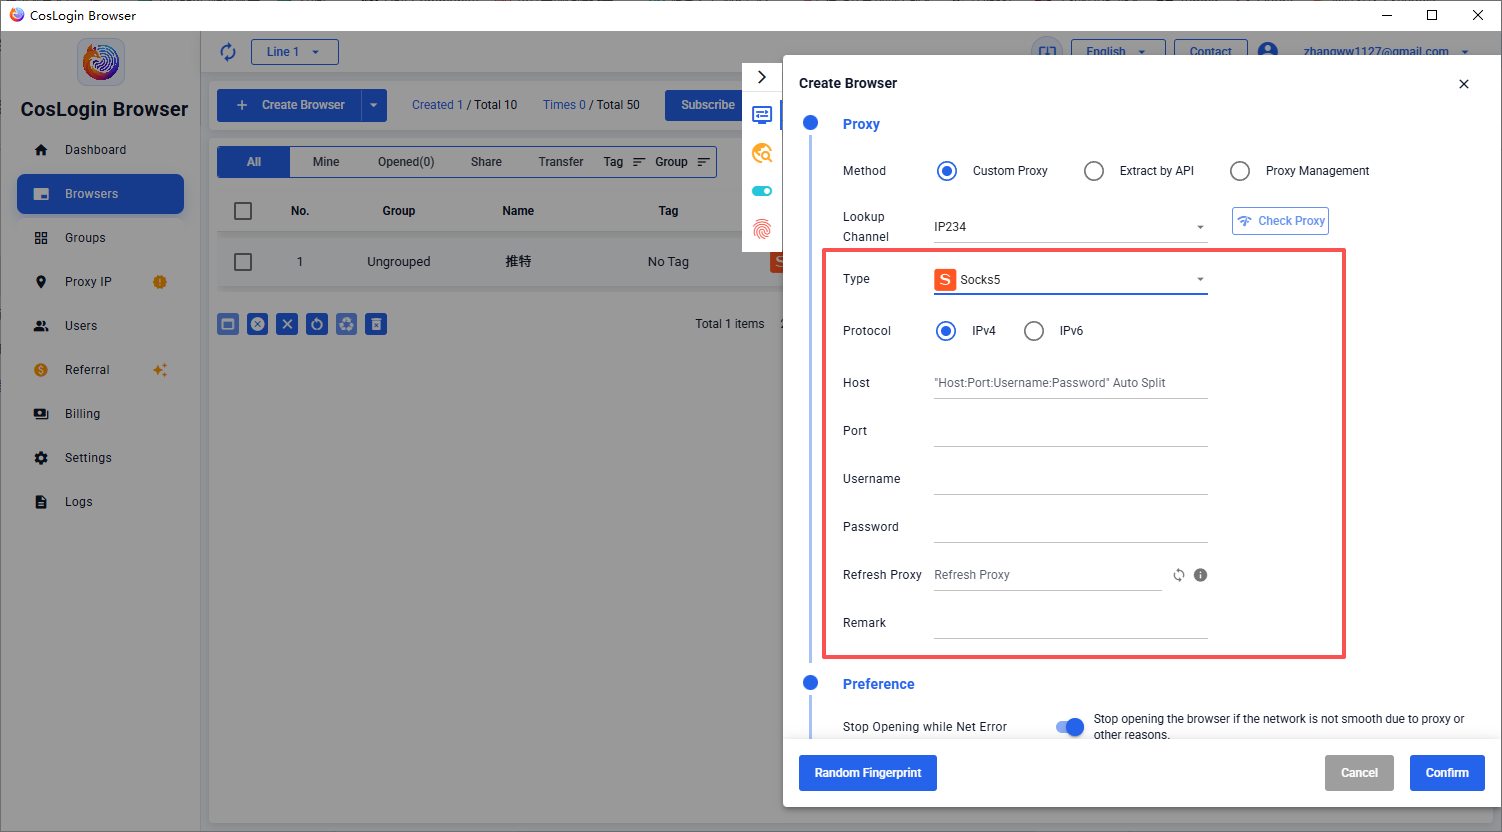
- Enter the static IP information from your IPNut purchase — IP:Port:Username:Password — and click Confirm.
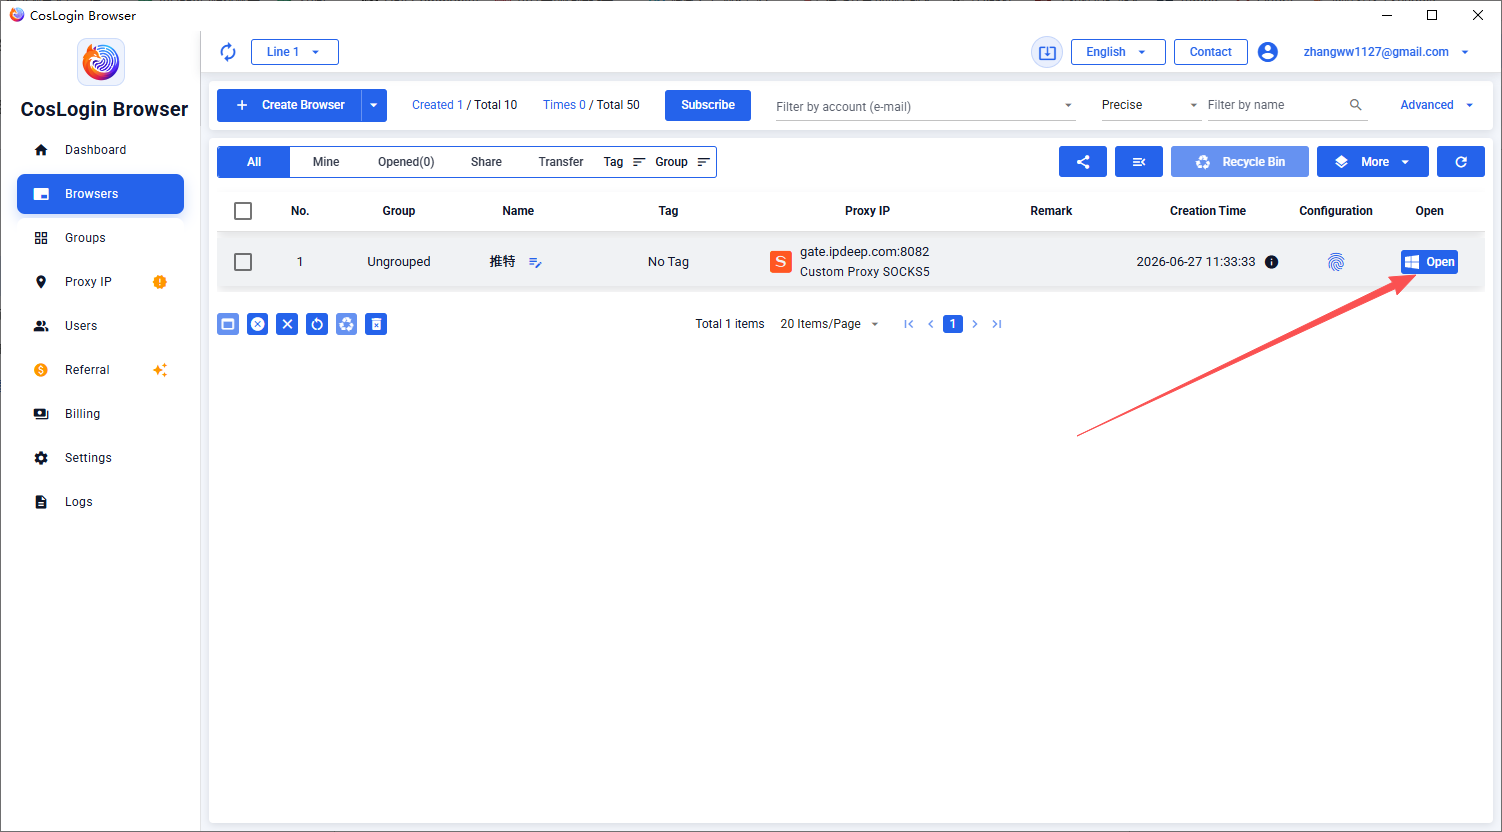
- The browser profile is now created. Click Open to start browsing with your IPNut proxy!
That completes the tutorial for configuring IPNut proxies in the CosLogin antidetect browser!


